Saturday, July 25, 2015

Fresh masala powder to make even a simple Sambar taste incredible (Radha’s mother-in-law’s recipe)

When I first started this blog – has it been over two years already?, I had no clue about how to write recipes, how to take pictures, or how to present them.  Not that I have improved much in two years, but I have settled down to a style and rhythm that works for me.

In my earlier posts, I would include recipes inside other recipes instead of splitting them up.  So some of my basic recipes are lost inside others, making it really difficult for new visitors to find them.

To make these recipes easier to access, I am posting them again - separately, so that they are easier to find.

The first one, and the one I probably use the most is this sambar masala powder.  I make this almost every other week and use it not only in sambars, but also in my dry curries, kootu, or keerai recipes.


I make sambar like I normally would with any sambar powder (store bought works just as well as home made).

Once you have made the sambar (recipe here), add a couple of teaspoons of this powder and mix well.  Turn off the heat.

Your sambar will taste like araichuvitta sambar (recipe here)!

Ingredients for fresh sambar masala powder

Here is what you need:


  • 3 Tbsp. coriander seeds
  • 3 Tbsp. channa dal
  • ¼ tsp. methi seeds
  • 1 tsp. black pepper corns
  • 4 - 6 red chilies
  • 2 Tbsp. dry coconut (Optional - I add this if I have it at home, but most of the time I make this masala without the dry coconut)


  Here is how I made it

  1. Dry roast all the ingredients.  Let it cool.
  2. Powder and store in an airtight container.

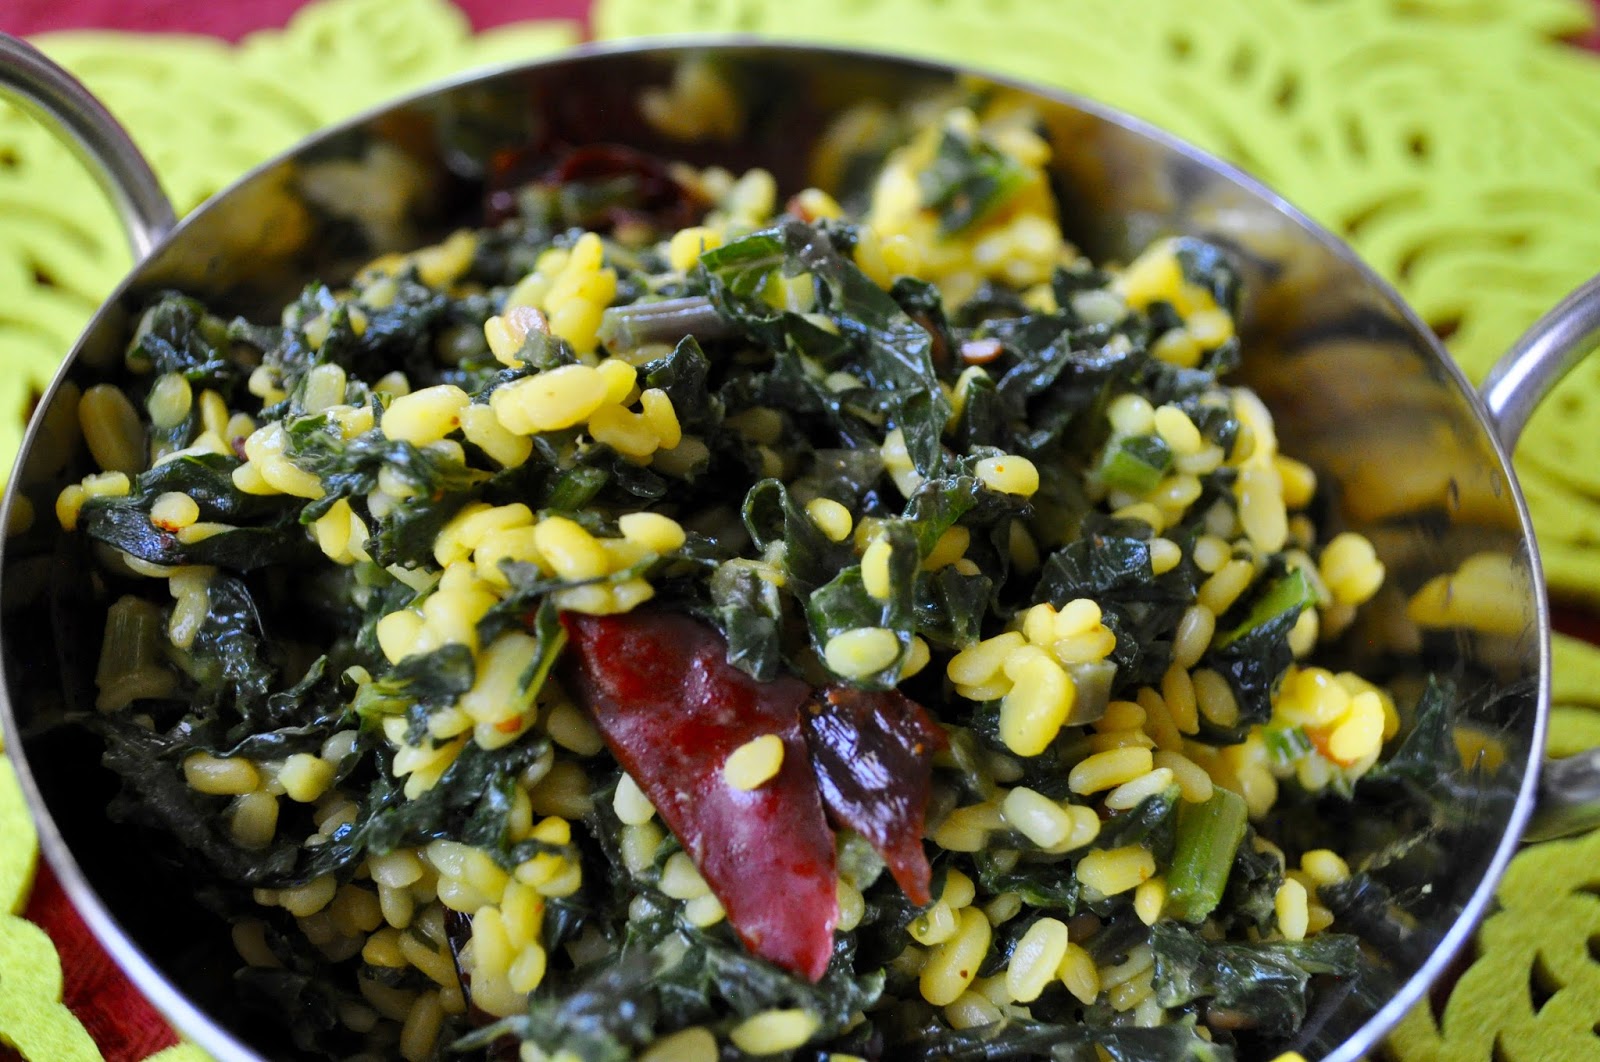
Sambar, garnished with fresh masala powder


This powder is my friend Radha’s mother-in-law’s secret to awesome sambar.  She adds a little bit of this after the sambar is done.  It adds great flavor and aroma to the sambar.


Friday, July 17, 2015

Vegetable Pot Stickers

I have been wanting to make pot stickers for a while.  It has been ages since I made them – mainly because you need to eat them as soon as they are made.  So it is not something that I can handle easily for big parties.  In fact, if there are more than three families, I don’t think I can possibly keep up!  

Yesterday, while deciding what to make for dinner, I started asking my family questions like “Indian, or non-Indian”, “Asian, Italian, Mexican, or Mediterranean”.  After eliminating a lot of these, we ended up deciding on Chinese for dinner.  I don’t make Chinese as often as I should.  We have a couple of fantastic Chinese restaurants close by and tend to take-out food from there regularly.  But yesterday, I was in the mood to cook some Chinese at home.


Our dinner yesterday was vegetable pot stickers, clear vegetable soup, and vegetarian udon noodles.   My husband had forgotten what pot stickers were (it has been so long since I made them), but once he started eating them, he couldn’t stop! 

This is a really healthy appetizer, because it is cooked by steaming and you use very little oil to make it.  


 Here is what you need:

(to make about 30)


For the filling:
  • 2 tsp. oil
  • 1” piece ginger, minced
  • 2 green chilies, minced
  • 2 – 3 stalks of green onion, chopped
  • 1 large carrot, grated
  • 1 green bell pepper, julienned into 1” pieces
  • ½ medium cabbage, shredded
  • salt to taste
  • freshly ground black pepper, to taste
  • Tamari low-sodium soy sauce, to taste 

For the wrapper:
  • about 30 circular dumpling wrappers

To make the pot stickers
  • 2 – 3 tsp. oil
Ingredients for the filling

Cooked filling


Mold and wrapper


Wrapper with filling


Pot stickers waiting to be cooked


Here is how I made it:


  1. Heat oil in a wok or pan - on high heat.  Add ginger, green chilies, and green onion. 
  2. After about 30 seconds, add carrots and green peppers.  Cook on high heat for 2 – 3 minutes, tossing often. 
  3. Add salt, soy sauce, pepper, and cabbage.  Turn off the heat.  Mix well.  Remember that the soy sauce has salt in it. So don’t add too much salt.  Set aside.
  4. Take the wrappers, one at a time and place it on the mold.  I used the mold, but these wrappers are easy enough to work with that you can seal the edges by hand – just pinch the edges together.
  5. Wet the wrapper with water.
  6. Place a couple of teaspoons full of the filling into the wrapper. Close the mold to press and seal.
  7. Repeat until all the filling is done.
  8. Place a frying pan on the stove and turn it on.  Add a little bit of oil – I used 1 tsp. per batch (you can also try non-stick spray)
  9. When the oil is hot, place the pot stickers gently into the pan.  I made about 10 in each batch because my pan was big.  Make sure that they don’t touch each other.
  10. When the bottom of the pot stickers have turned golden brown, pour about 1/3 cup of water into the pot and cover it.  Let the pot stickers cook in the steam.
  11. When all the water has evaporated, the pot stickers are cooked.  Remove them from the pot.
  12. Repeat until all the pot stickers are done.


Serve hot with spicy dipping sauce.


Thursday, July 16, 2015

Cabbage Rice

What do you do when all you have in your refrigerator is half a head of cabbage and almost nothing else?  This is what happened last week.  I had missed going to the Indian Store on Thursday - the day they get vegetables, because we went on a camping trip and did not get back till Sunday.  There was almost no food in my fridge.  I had some curry leaves, a couple of tomatoes, ½ a head of cabbage, green chilies, 1 cucumber, and some ginger.  I also had onions and potatoes in my pantry.

We did a take-out on Sunday because we had friends coming over.  I had actually planned on cooking for them, but due to traffic delays, we got home late and by the time I showered and made a late lunch for us  - aloo curry and chappatis, I was exhausted.


So, on Monday, I needed to come up with something for dinner.  My youngest had his wisdom teeth removed that morning.  So he was on a cold, soft food diet.  Since it was just my husband and myself, I decided to make a one pot meal and served it with left over potato curry from the day before.

Cabbage rice is so quick and easy to make, and the recipe is versatile enough to adapt to any vegetable that you may have at home.  It is also a great way to use up left over rice.


Here is what you need:


  • 2 cups cooked rice (I used basmati, but any left over rice should work as long as it is not mushy)
  •  For the masala powder:
    • 2 Tbsp. dhania (coriander seeds)
    • 2 tsp. jeera (cumin seeds)
    • 3 – 4 red chilies
    • 1 Tbsp. channa dal
    • 2 tsp. urad dal
  • 2 – 3 tsp. oil
  • ½ tsp. mustard seeds
  • ½ tsp. jeera
  • 2 tsp. channa dal
  • few cashews
  • 2 -3 green chilies, chopped
  • 1” piece ginger, peeled and grated
  • few curry leaves
  • ½ a head of medium cabbage, shredded
  • salt to taste


Here is how I made it:


  1. Dry roast all the ingredients given under masala, cool and then coarsely powder.  Set aside.
  2. Heat oil in a pot.  Add mustard seeds.  When the seeds sputter, add cumin, channa dal, and cashews.  Stir constantly.
  3. When the channa dal changes color, add the green chilies, ginger, and curry leaves.  Sauté for about 30 seconds.
  4. Add cabbage and salt.  Mix well.  Let this cook for about 3 - 4 minutes
  5. Add the masala powder and cooked rice.  Mix well.  Cook till the rice get warmed up (about 2 - 3 minutes on medium heat)


Quick and easy cabbage rice is ready!  You can use other vegetables instead of cabbage.  Or you can use a vegetable medley.  You can also add dessicated coconut to the masala powder.  I did not have any at home.

Serve with raita and some spicy curry.

Tuesday, July 7, 2015

Kale Thoran - Cooking from my Garden

Every year I look forward to May – planting season in Colorado.  The weather starts warming up, kids start wearing shorts and t-shirts (even thought temperatures are sometimes in the 40s to 50s), nights are no longer below freezing, and plants and trees begin to come back to life.

A couple of times in the past, I have been so excited about having several warm weather days in a row, and planted my vegetable garden by the first week in May.  Just when the tomato plants begin to look healthy and my peppers show signs of flowering, a freak snowstorm (Colorado is famous for these) hits and all my plants die!  I have since learned my lesson and no matter how tempting it is to get started, I wait till Memorial Day weekend to start my vegetable patch.


Kale Dry Curry


This year, along with my regular plants like tomatoes, peppers, chilies, zucchini, squash, and eggplant, I also planted different varieties of kale.  We have had such a moist spring that my kale plants have thrived.

I have only had kale in salads and wanted to try something different.  So I decided to make a dry curry with kale. It is really simple to make and tastes great.  You can serve it with rotis or with rice.

Here is what you need:

  • ½ cup split moong dal, soaked in water for about ½ hour and drained
  • 2 – 3 tsp. oil
  • ½ tsp. mustard seeds
  • ½ tsp. split urad dal
  • 2 red chilies
  • few curry leaves
  • 2 cups packed, assorted kale leaves, washed and chopped
  • ¼ tsp. turmeric powder
  • salt to taste

Here is how I made it:


  1. Heat oil in a kadai/pan.  Add mustard seeds.  When they sputter, add the urad dal and red chilies.
  2. When the red chilies change color, add the soaked moong dal and chopped kale.  Mix well.
  3. Add turmeric powder and salt.  Sprinkle a little bit of water (maybe ½ cup) cover and cook for about 7 –  8 minutes.
  4. Check to make sure that the kale and moong dal are cooked well. Kale takes a little longer than spinach to cook.  So you make have to cook this for about 10 minutes or so, depending on how tender the leaves are.
  5. Turn off the heat.  You can add shredded coconut at this point if you like.  I did not.


Serve with rotis or rice.


Related Posts Plugin for WordPress, Blogger...